
A beautiful photo of the starry sky delight almost anyone who sees it. Is it possible to easily and independently make a night photo or is it the lot of professionals with expensive and high-quality equipment? We understand as much as possible in detail: how to photograph the starry sky.
Settings for Night Photography
Light is the most important part of photography; without light, there is no picture to be taken. During the night, it is dark and the light is sparse, making it challenging to photograph. In fact, in order to capture an image during the night, you will most likely have to sacrifice some image quality – forget about using a narrow aperture and low ISO.
Unlike regular landscape photography, night photography requires less than ideal settings in order to capture enough light to properly expose the scene. Since there’s not a lot of available light, that means opening the aperture, increasing the ISO and lengthening the exposure time (shutter speed).
There is not one correct setting for each scenario as it depends on many factors (such as the brightness of the moon). However, as a rule of thumb, you want to use the widest aperture your lens allows in order to get the sky as detailed as possible. Lenses with an aperture of f/2.8 are widely popular amongst nighttime and astrophotography and if your lens allows for such an open aperture, this is where you should begin.
ISO and shutter speed
The ISO also needs to be increased quite a lot for night photography. For landscape photography, I always stress the importance of shooting with the lowest possible ISO. Even though we still want to shoot with the lowest possible setting, we are now looking at an ISO of at least 1600 at night. It is not uncommon to use an ISO of 3200 or 6400 during the night. Still, to maintain as much quality as possible, try to use the lowest possible option.
 Choosing the shutter speed is slightly more challenging as it depends on the focal length of your lens, but I recommend not going longer than 30 seconds unless you want to photograph star trails (I’ll come back to this later in the article). The 500 Rule is a good guideline when choosing the shutter speed. Basically, divide 500 by the focal length of the lens you’re using and you’ll know the maximum shutter speed you can use (to avoid star trails). If you are using a crop sensor camera you will need to calculate the equivalent focal length of a full-frame lens (for example 20mm on crop sensor = 30mm. 500/30 = 16.6 seconds).
Remember that a tripod is essential for night photography in order to get a sharp image. It is simply not possible to hold your camera still for several seconds!
 Planning to Photograph the Night Sky
Scouting can be hard during the night so it is often beneficial to have familiarized yourself with the area before going there in the dark. I know this is not always possible but the very least use an app such as PhotoPills to learn the phase of the moon, its position, as well as the time of sunrise, sunset, moonrise, moonset and anything else related to your shoot. The more you have prepared, the higher the chance you will get a great image.
Let us summarize what you should know before you starting photographing:
- Time of twilight
- Time of Nautical and Astronomical dark
- Phase of the moon
- Moon’s position in the sky
- Time of moonrise and moonset
- When The Milky Way is visible (if applicable)
- The Milky Way’s position (if applicable)
All this information is easy to find in an app such as PhotoPills or by doing a quick search online.
Ideas for Night Photography
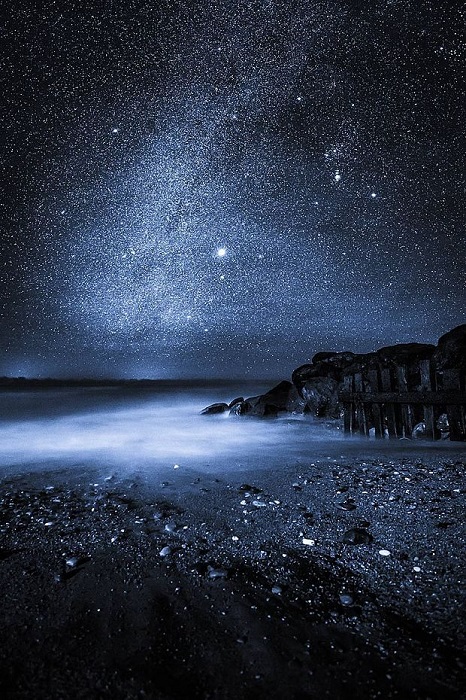
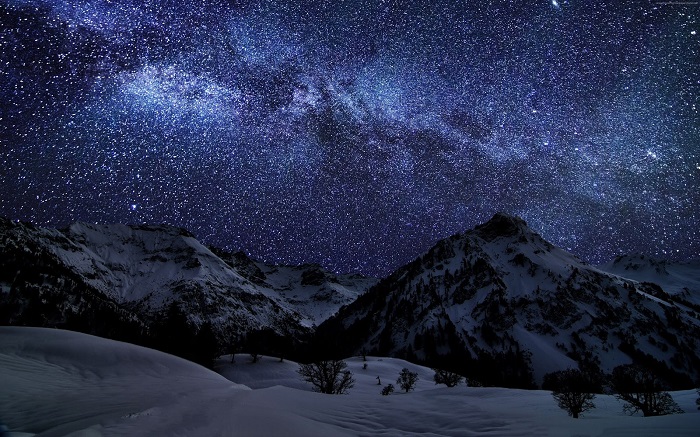
If your goal is photograph stars and the natural night sky, I think it is fair to guess that you want to see as many stars as possible. In order to get the best possible view of the stars, you will need to go yourself at a location that is away from larger cities and light pollution.
 Website and maps such as DarkSiteFinder are great resources when searching for areas with less light pollution. If you live close to a major city you will probably have to travel a little further than if you live near a small town. There are filters, such as NiSi’s Natural Night Filter, that help reduce the light pollution but it will not magically remove it all and give you a starry sky – it simply neutralizes the color of the light pollution.
For the most detailed night sky, it is also ideal to avoid the weeks closest to a full moon. During that period, the sky is brighter and there are fewer stars visible to both the camera and the naked eye. However, that does not mean that you should stay home; there are many interesting subjects during the full moon as well.
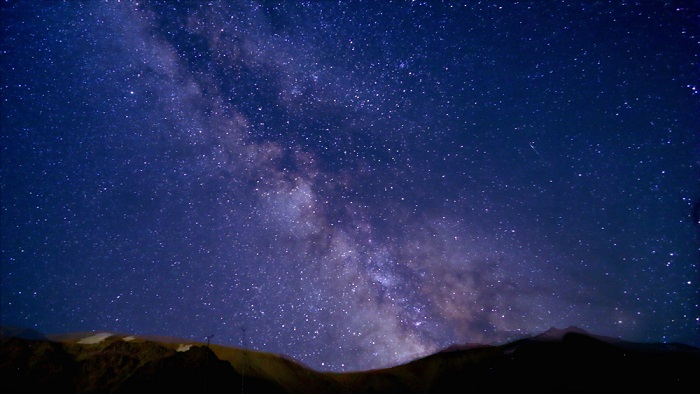
The Milky Way
The techniques for photographing The Milky Way are mostly similar to other types of night photography. You will want to use an open aperture, high ISO and a shutter speed of no more than 30 seconds. I find that a slightly higher ISO and a shutter speed of around 25 seconds (when shooting at 14mm @f/2.8) gives the highest amount of detail when photographing The Milky Way. By using a slower shutter speed, the camera starts picking up slight movement in the stars (due to earth’s rotation) and it begins to get blurry.
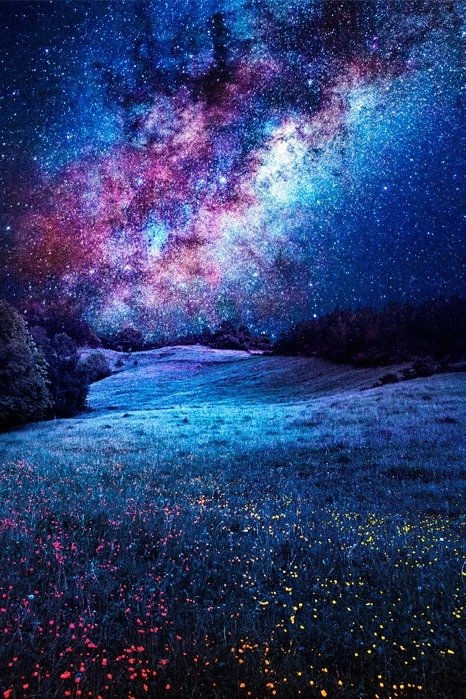
 It is also best to photograph The Milky Way during the new moon or before the moon has risen. The darker the sky, the more stars you see and the more detailed The Milky Way becomes.
Photographing a Meteor Shower
Whenever there is a meteor shower, such as the Perseids Meteor Shower, I keep my fingers crossed for clear skies. There is nothing more magical than being outside in the pitch black, looking up at dozens or even hundreds of shooting stars during a span of several hours.
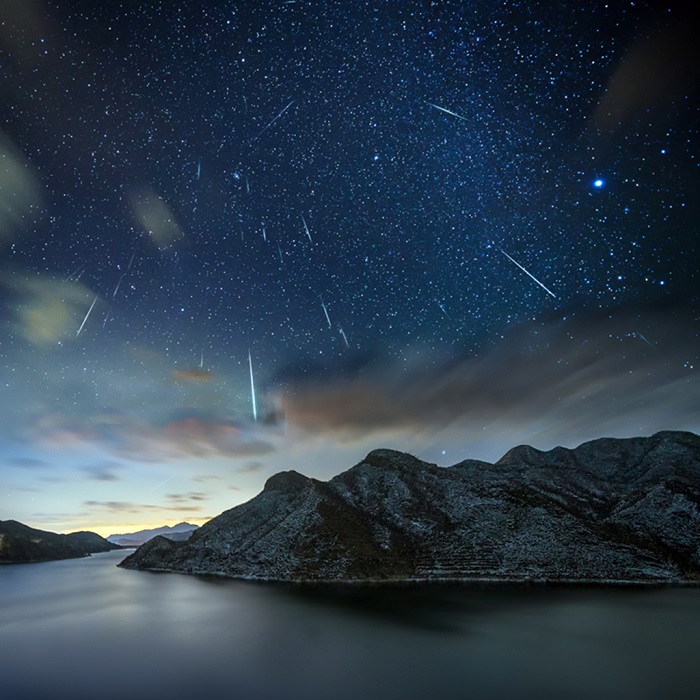 Since most the shooting stars last for only a second or two, it can be hard to capture them in an image. In order to capture as many of them as possible, set your camera to interval shooting and let it go continuously. To pick up even the smaller shooting stars increase the shutter speed slightly to approximately 15 seconds (depends on the brightness of the night).
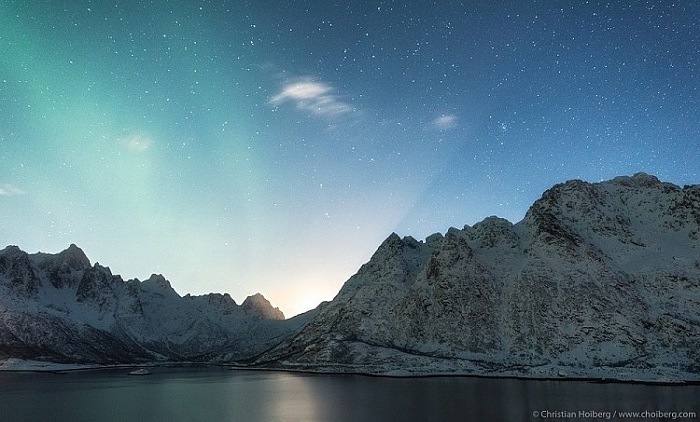
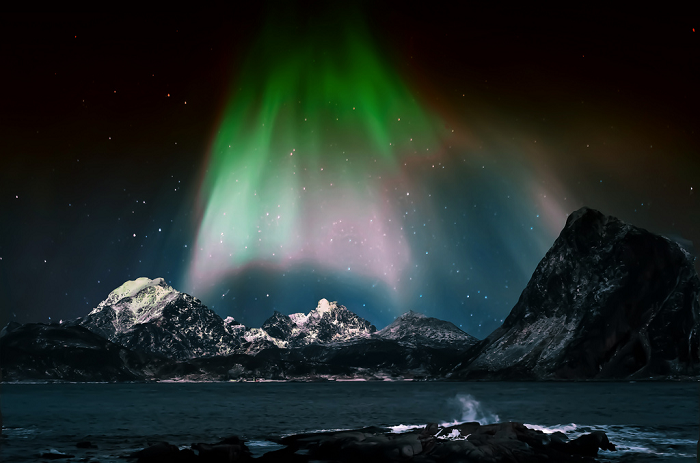
Photographing the Northern Lights
Northern Lights is a phenomenon in the northern hemisphere.
The challenges when photographing the Northern Lights is that it often moves quite quickly and it can be rather bright. In order to freeze the motion, you’ll need a quicker shutter speed such as 1-10 seconds. Exactly how quick depends on the intensity of the lights. Just keep in mind that if they’re moving quickly, you should use a quicker shutter speed.
 Also, pay attention to the histogram as it’s easy to blow out the highlights. Since it’s a bright phenomenon in the otherwise dark night, the contrast can be great. I recommend always exposing for the highlights and if needed take a second exposure for the landscape that you can blend in later during post-processing in Lightroom or other program.
Photograph Star Trails
Due to the rotation of the earth, your camera registers movement in the stars once the shutter speed becomes too long. This creates a blurry and soft sky and can be quite displeasing to watch.
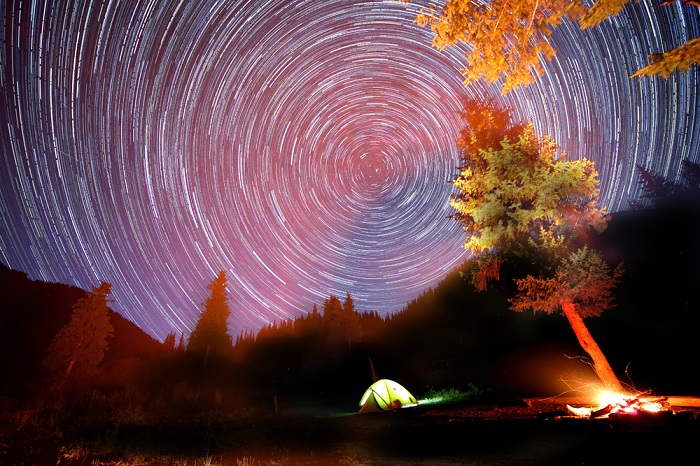 That being said, every now and then this is something you want to use as an advantage rather than viewing it as a problem. By lengthening the shutter speed to several minutes or even an hour (this lets you use a low ISO and narrow aperture but may result in hot pixels), you are able to capture what is known as star trails. This effect can be interesting but make sure that the shutter speed is long enough so that the stars do not just look blurry.
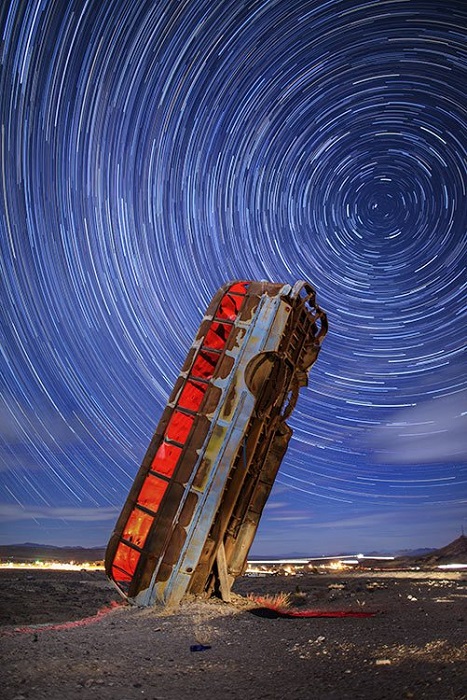 Alternatively, you can capture a series of images using a shorter shutter speed and merge them together in Photoshop or a software such as StarStax.
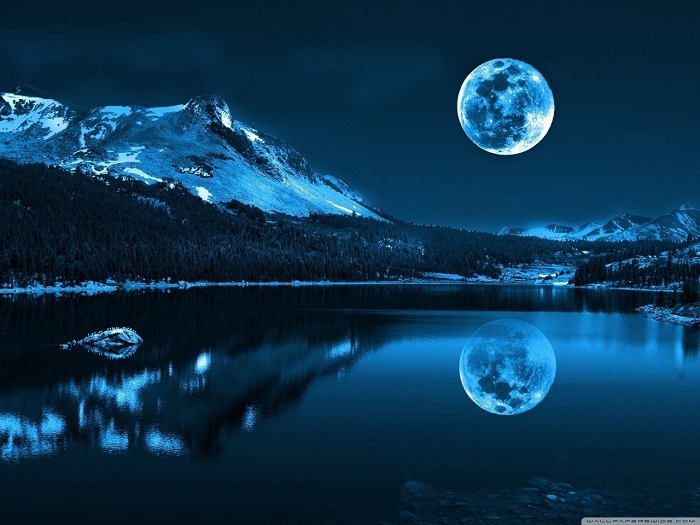
Full Moon and Bright Moon Phases
When the moon is small, are best for night photography as it’s during this period you’ll see most stars. However, when the moon is up there are still many interesting images to be captured.
First, since the moon is a bright source of light, you can get away with using a slightly lower ISO or narrower aperture. It can also be easier to find a composition as the landscape is brighter. Use this light to your advantage and pay attention to the shadows in the landscape. Maybe the moon lights up a mountain or it creates a nice reflection in a lake? During this period, it can be wise to compose your image to include more landscape than sky as that is where the most interesting things are happening.
Someone prefers to photograph the moon when it has a low position in the sky as find the shadows to be slightly more interesting during that time. Note: This is for the same reasons shooting at sunrise and sunset are best for daytime landscape photography.
Conclusion
Have you tried night photography before? If not, grab your camera and tripod (and maybe a friend for some company), get out, and give it a go. Share any other night photo tips you have in the comments below as well as your night sky images. We would love to see them.
See also: Camera setting for street photography