Camera Settings for Street Photography
Street photography is one of those practices that is very tough to get right technically at first. Everything happens so quickly, hand-eye coordination is so important, and of course, there’s the fear involved in capturing people in candid moments without their approval. While it may seem like you just have to wait for the right moments to occur and get lucky, the reality is very far from that.
 However, the irony is that while the technical aspects are very difficult at first, eventually they will become second nature, and the real difficult aspect will be finding those interesting and inspiring moments. Those moments don’t occur very often, and when they do you have to be fast enough to see and capture them. So if you don’t have the fundamentals down, it will be tough to get to the next step.
Here is how I approach my camera settings so I can then forget about them and just shoot.
The first step
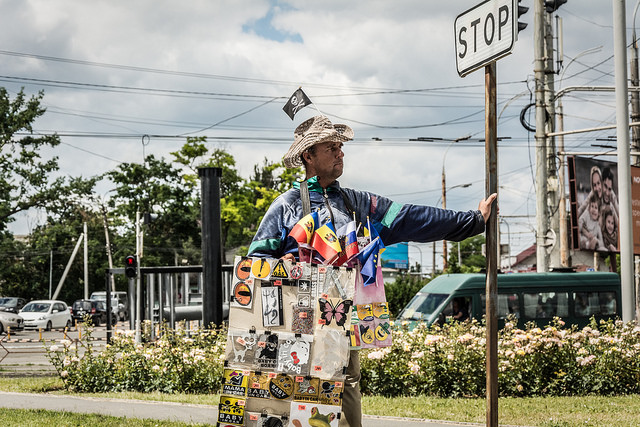
The first step always involves the light. You cannot figure out how to set your camera if you don’t first understand the light. How strong is the light? Is it a sunny day or a cloudy day? Is it evening? Are you in New York where tall buildings will create dark shadows no matter how bright it is or are you in an area with much smaller structures?
Get in the habit of looking at the light when you first walk out to shoot and don’t stop noticing it.
A couple quick thoughts
To freeze motion in people, I like to use 1/250th of a second as a base number for the shutter speed. That number or faster and there will be no motion blur in people. You can go down to 1/160th or 1/125th at dusk or night if you need to and you should be okay, but slower than that and you risk motion blur (unless you want motion blur of course).
For the most part, I like to use a small aperture (large depth of field) between f/8 and f/16 when I can. Sometimes I have to shoot at f/2.8 due to the light, or it will look pleasing for certain shots, but I always prefer to use as small an aperture as possible to make sure enough of the scene is sharp.
With fast moving scenes you will often miss the focus slightly, and with a large depth of field, this will mean that the shot will be saved in these cases. In addition, there will often be scenes with an interesting background (context can be very important for street photography) or multiple subjects at different depths. With a small aperture, you will have to worry less about getting these subjects sharp.
To have a fast shutter speed and small aperture, unless the light is incredibly strong, you need to raise your ISO. Don’t be afraid of this – the grain/noise looks fine and it will be more than offset by your photos being a lot sharper in general. I typically use ISO 400-800 in sunlight, 800-1600 in light or dark shade, and 1600-6400 at dusk into the night.
Aperture Priority versus Shutter versus Manual Mode
 The next step is to choose Aperture Priority, Shutter Priority, or Manual mode. If you are comfortable and good with any of these modes, you can use them for any situation. But I find it beneficial to switch modes depending on the situation.
Aperture Priority
When there is medium to strong light, I always use Aperture Priority. The reason for this is because I want to be able to set my camera and forget about the settings. With the settings out of the way, you are free to enjoy yourself and to focus on the content.
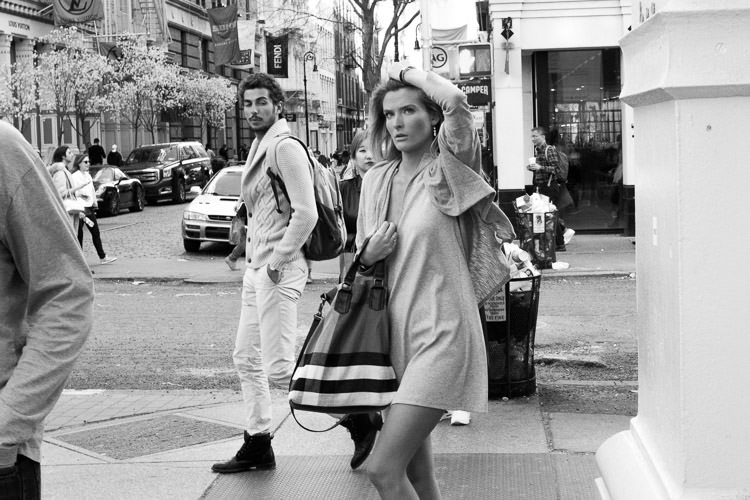
If the light is fairly even, you won’t have to worry much. But on sunny days, particularly in New York, there is a huge contrast between the sunny part of the street and the shady part. So it’s a pain to change your settings every time you go from one to the other.
So what I will do is set my camera to the ideal settings for the shady side of the street. This means that I usually set my camera to around f/8 or f/11 (sometimes f/5.6) and ISO 800 (you can tweak these depending on how dark the shady side really is). This will allow for at least a 1/250th of a second shutter speed in the shade.
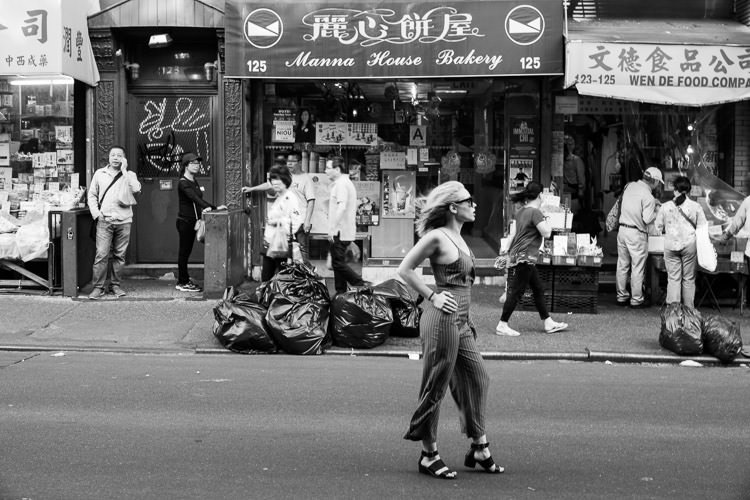
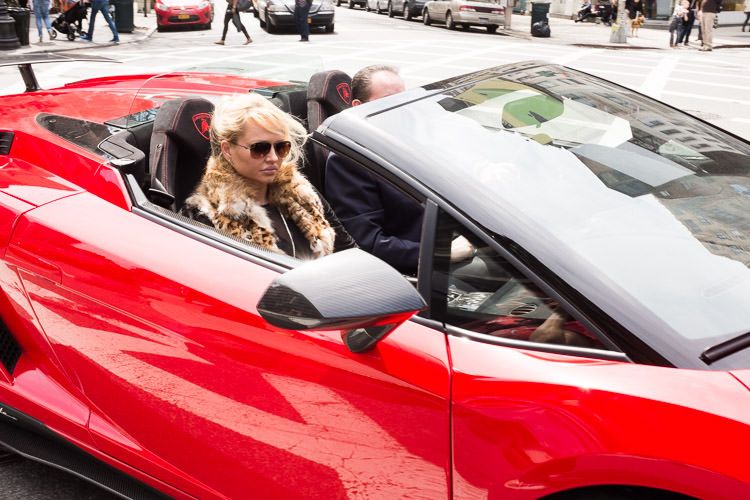 The tradeoff is that when you point your camera toward the sun, ISO 800 is a little higher than you would normally use in that situation. But the added grain is fine, and it allows you to seamlessly go back and forth between lighting situations. Your shutter speed will be something crazy fast like 1/2500th or so. But that will mean that at least your subjects will be super sharp.
Shutter Priority
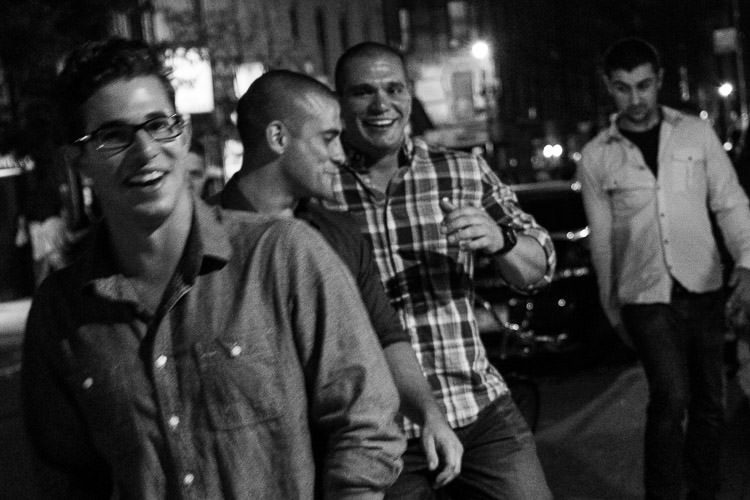
On shady days or at darker times of day like the early morning or evening, I will set my camera to Shutter Priority and 1/250th (sometimes 1/160th or 1/125th at night). This will guarantee that motion is frozen, unlike shooting on Aperture Priority, when the camera will sometimes go below that threshold to let in enough light. It is hard to always pay attention to that. I will then set my ISO accordingly from 1600 to 6400 depending on how dark it is. The reason for this is to make the aperture as small as possible, even though at night you often will have to shoot wide open.
 The reason why I don’t shoot Shutter Priority on sunny days is that so much light is hitting the camera if I am shooting at 1/250th or even 1/500th and ISO 800 in the sunlight, my aperture will need to be f/32 or f/64. My lenses can’t go smaller than f/16, so that creates a problem and forces me to have to change the settings when I go from sunlight to shade.
Manual Mode
If the light is very consistent, or if you are very good with using Manual mode, you can, of course, use this setting. With consistent lighting, it’s easy to choose your settings and forget about them. However, if the light is not very dark I usually just prefer Aperture or Shutter Priority.
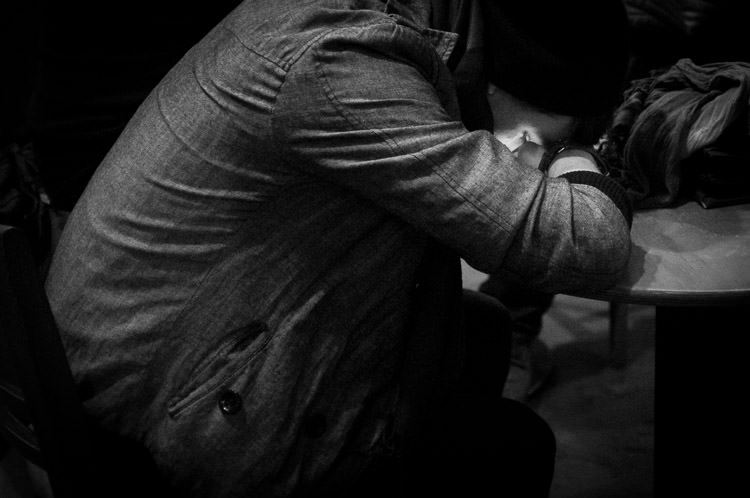
 The time when I will use Manual Mode is often at night. That’s when it is so dark that I need to choose the minimum settings possible to freeze a scene and get it sharp, usually 1/125th and f/2, or sometimes indoors, where the lighting is usually pretty consistent. For instance, on the subway system, I will usually choose Manual mode and shoot at 1/250th and f/2.8. Consistent lighting is where Manual mode shines.
Conclusion
So study this, go out in different lighting situations and test out the different settings, and make this second nature. Once you do, then you can forget about it and focus on what is really important – taking photos.
A Post By: James Maher