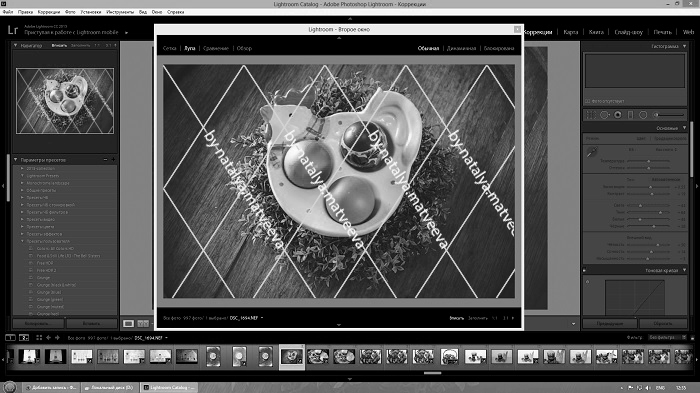
Original easter photo by Natalya Matveeva
About Develop Module Lightroom.
Lightroom is powerful, but it’s also complex and has a steep learning curve. If you feel overwhelmed by all the options, there’s great value in taking a simple approach and learning to use the tools that are most useful first. Leave the more advanced features until you have more experience.
With that in mind, I’ve put together this list of the six most important things you need to know about Lightroom’s Develop module. Learn these and you will be well on the way to Lightroom mastery.
1. Backup your catalog regularly
This is the most crucial thing to set up, as everything you do to your photos in the Develop module Lightroom (not to mention metadata changes like Collections, flags and keywords) is stored in the catalog. It would be a disaster to lose your catalog (and consequently all your hard work) to hard drive failure, so you need to make sure that Lightroom is backing it up regularly to an external hard drive.
To do so, go to:
For Windows users: Edit > Catalog Settings > Back up catalog
For Mac users: Lightroom > Catalog Settings > Back up catalog
I have mine set to: Every time Lightroom exits – some photographers find that Once a week, when exiting Lightroom is enough.
When you exit Lightroom, a dialog window appears that shows you where Lightroom is going to save the backup Catalog. Click Choose to change the location if you need to. Note: this is the only time you can select the destination where the backup will be saved.
Make sure the Test integrity before backing up and Optimize catalog after backing up boxes are both ticked. This slows down the back up process, but it’s worth it because it helps ensure that your catalog remains free from corruption, and is optimized for speed.
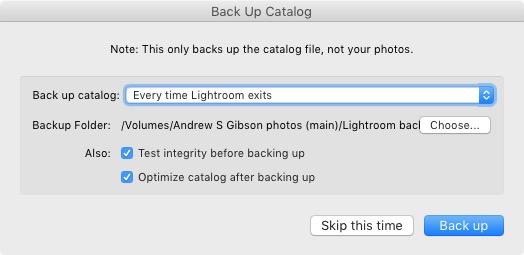
Please note: The Catalog doesn’t contain any of your photos. Backing up your Catalog doesn’t back up your photos, only the information that Lightroom contains about them. Photo backups need to be managed separately.
2. Profile is the most important setting in the Develop module.
The Profile menu is tucked away in the Camera Calibration panel, at the bottom of the right-hand panels in the Develop module. The default profile setting is Adobe Standard (circled below). This profile was created specifically for your camera by Adobe. Pick that one for accurate colors.
You will also find the color profile settings specific to your camera (Landscape, Portrait, and so on). You can pick one of these if you prefer the look to Adobe Standard.
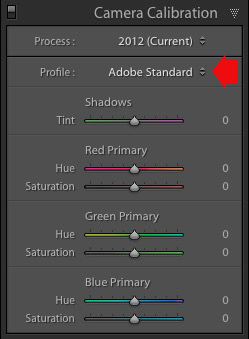
The profile affects both color and contrast, so from a practical point of view it’s important to select the right one, before you start adjusting contrast and white balance in the Basic panel. Get the profile right, and it makes all subsequent processing steps much easier. Get it wrong, and it makes them more difficult.
For example, if you apply a profile intended for landscape photos to a portrait, then you could end up with over-saturated colors and unnatural skin tones. Then you might try and fix that by playing with the Basic panel sliders or other color controls. This approach rarely works, it’s far better to select the most appropriate profile from the start.
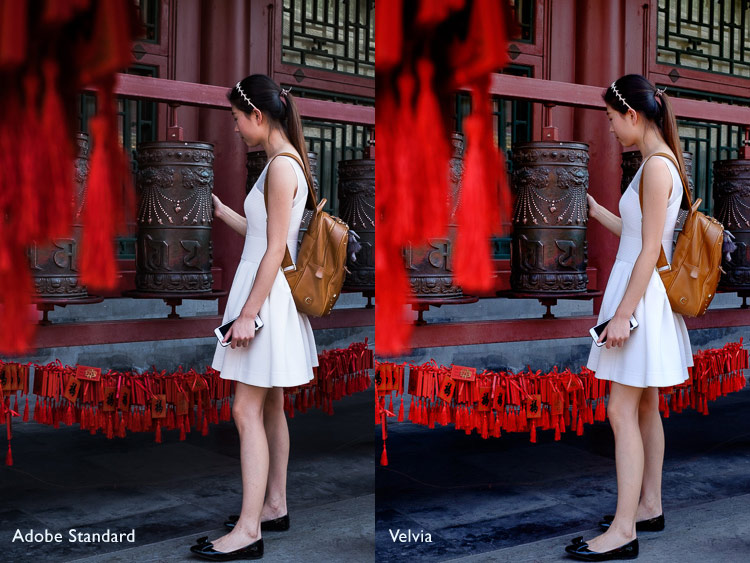
These two photos show the difference between the Adobe Standard and Velvia profiles on a Fujifilm X-T1 camera. The Velvia profile saturates colors, the Adobe Standard profile looks more natural.
3. Use Lens Corrections to correct distortion and eliminate chromatic aberrations.
No lens is perfect, and most have at least a little distortion and chromatic aberration. One of the benefits of digital photography is that you can eliminate these in the processing stage, so they are not the problem they once were. Go to the Basic tab in the Lens Correction panel, select Enable Profile Corrections and Remove Chromatic Aberration in order to do so.

This comparison shows the result on a photo taken with a zoom lens producing barrel distortion.

 4. You can carry out 80% of your processing in the Basic panel.
Once you have selected a Profile, and applied Lens Corrections, you can go to the Basic panel to start making any adjustments required to the photo’s brightness, contrast, and color.
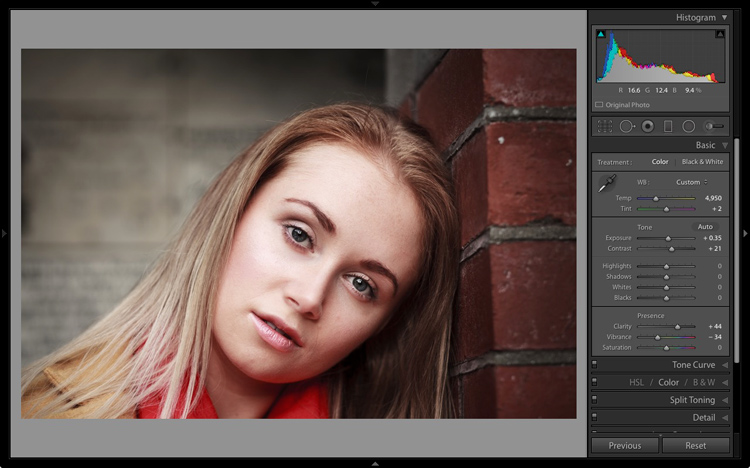
The sliders in the Basic panel are extremely powerful. Take the time to get to know what each one does, and how the settings affect your images. Once you get the hang of these sliders it’s quite possible that you can do all of your global adjustments (those that affect the entire image) here, and not have to touch the Tone Curve or HSL / Color / B&W panels at all.
This photo is a good example. Virtually all the processing was done in the Basic panel, made possible by selecting the most appropriate profile first. The only additional thing I did was add a vignette using the Effects panel.
 See also: Lightroom review.
5. Learn to use local adjustments wisely.
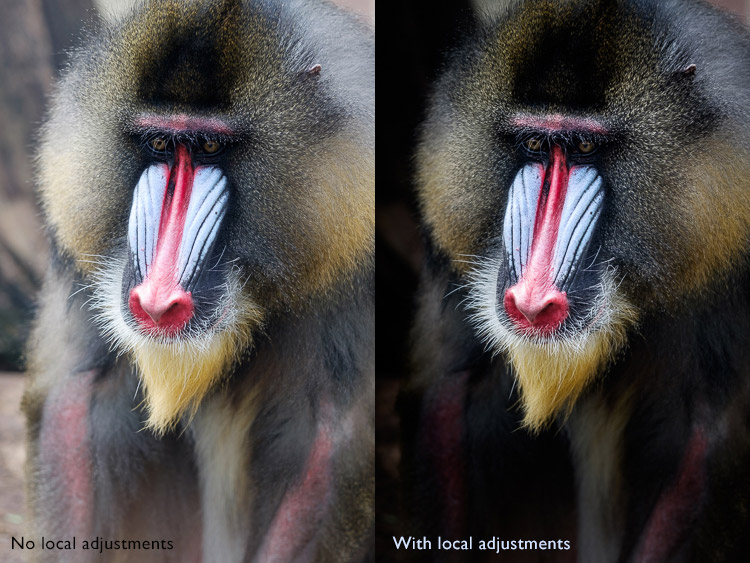
It wasn’t so long ago that many professional photographers would send their negatives to master printers who used dodging, burning, and other fancy darkroom techniques, to create a far better print than the photographer ever could. These local adjustments – those applied to only part of the image, rather than all of it – are often vital for bringing the best out of your Raw files in Lightroom.
Lightroom has three tools for making local adjustments – the Adjustment Brush, Radial Filter and Graduated Filter. They allow you to selectively adjust brightness, contrast, and other tone and color settings. Each tool has its own idiosyncrasies, so take the time to get to know each one in turn.
This example shows the difference that local adjustments make. I used a combination of all three of Lightroom’s tools to turn the image on the left, into the one on the right.
 6. Don’t overlook the Clarity slider.
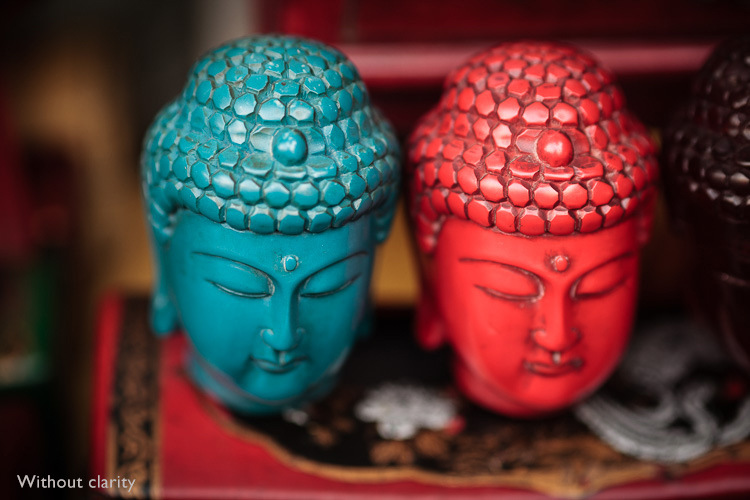
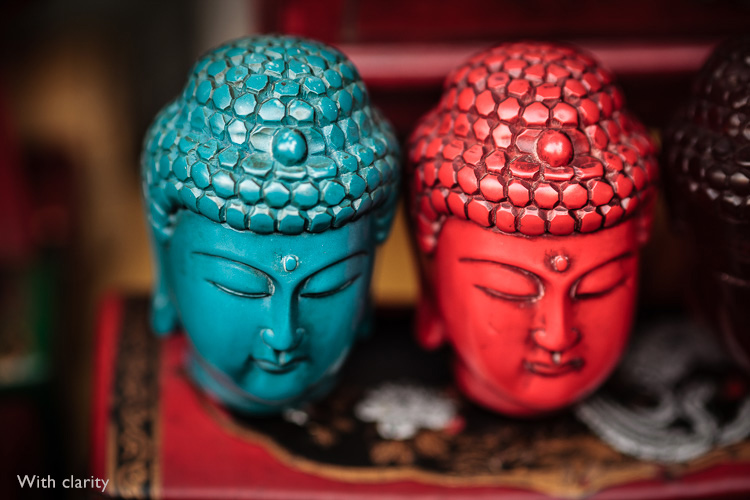
The Clarity slider is extremely useful as both a local, and global adjustment. It’s primary use is to enhance texture, and it does so by increasing edge contrast (the spots where dark and light areas meet). You do have to be careful not to overuse it, but judicious applications of texture enhancement can help bring the best out of any photo. Clarity is also an ideal tool for enhancing black and white images, which often rely on texture to add impact.
The following photos show the effect of adding Clarity. I used the Radial filter to apply Clarity to the Buddha heads to bring out the texture.
These six items are not a comprehensive list of what you can do in Lightroom’s Develop module, but they will certainly get you started, and simplify the process of learning to use it.
A Post By: Andrew S. Gibson
