Low Key Photography for Beginners
Low key photography is a terrific challenge for both the novice and the experienced. It is a very simple technique that brings instant drama to an image but could take a lifetime to master. Like most other forms of photography, it is all about illumination and elimination.
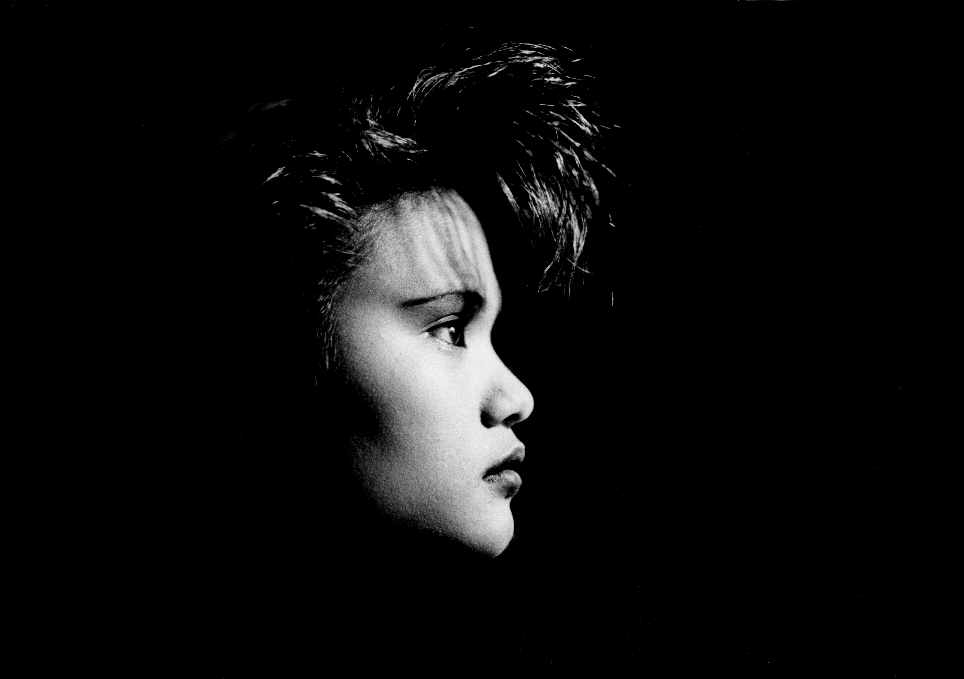
Low-Key by Mo Dube (Shadow Stalker)
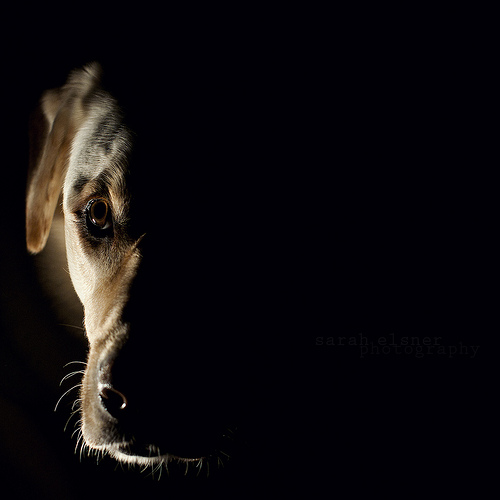
Tucker by Sarah Christine on Flickr
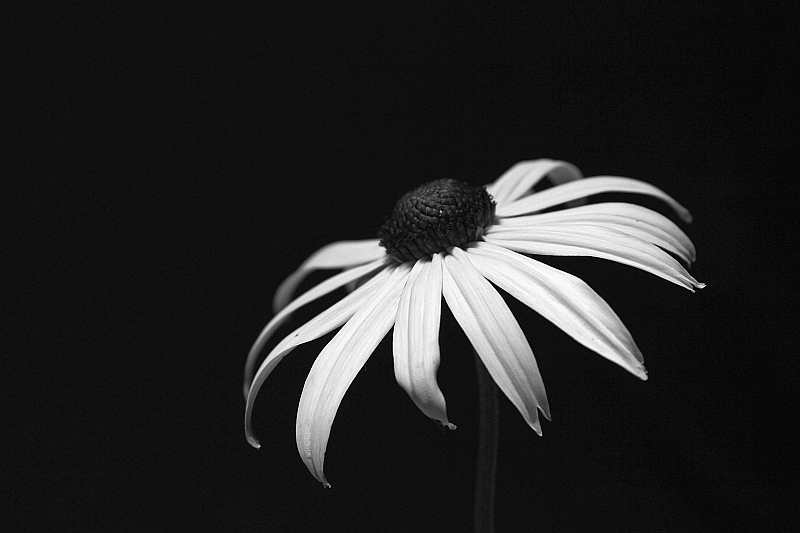
A low-key image is one that contains predominantly dark tones and colours. Like high-key images, they convey atmosphere and mood. But where a high-key image feels airy and light, a low-key is usually dramatic and full of mystery. And where high-key shine over-lights the subject to reduce contrast, low-key lighting creates striking contrasts through reduced lighting. Shadows are now the primary element of the composition.
 Black and White is a popular choice as it really brings ‘light’ to the shadows.
But there is a lot to be said about the drama of colour when the light is right.
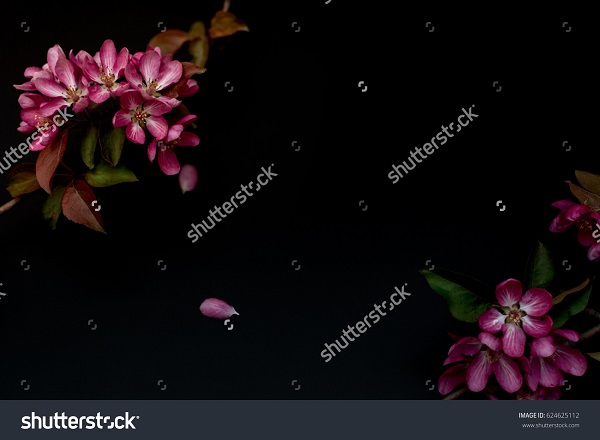
Photo by Bazilenco Natalia
To create a low-key image, all you need is your camera and one light source. Depending on the results you are looking for, you might also make use of a fill light or reflector. If you are lucky enough to have your own photo studio, fabulous, this will give you a reason to use it. If you don’t, no worries, you don’t need one.
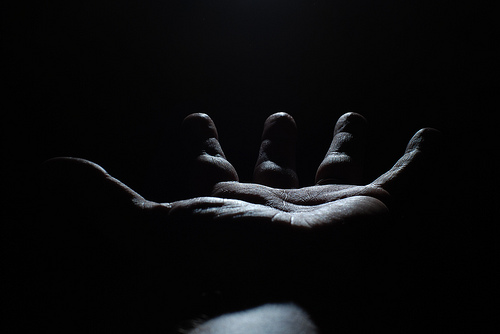
This shot was inspired by the way the computer monitor lit the photographer’s hand:
Camera Settings – The only setting that should absolutely stay constant is the ISO. Set it to 100 (or as low as your camera will let you) and never move it. Keeping your ISO low will give you good image quality, keeping it both dark and noise-free. Then it is just a matter of adjusting the shutter speed and aperture to achieve the desired effect for the light you’ve chosen.
Lighting – Choice of light is all up to the photographer. You have only one key light so the only choices you have to make now are direction and strength. The only ‘rule’ you should impose on yourself when shooting low-key is to never allow light to reach your background. I know, never say never. But unless you have a particular reason to add texture there, don’t do it. This is called ‘contamination’.
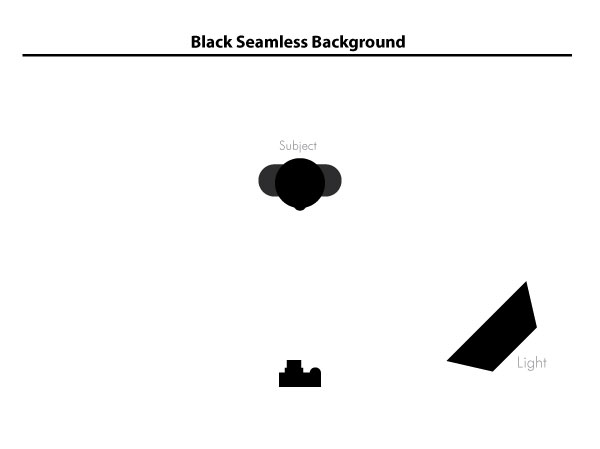
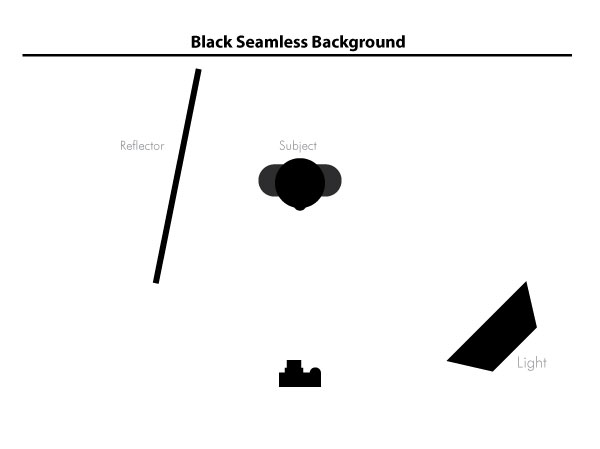
Following is a very basic studio light setup for low-key photography. Remember that direction and intensity are all up to you but avoid lighting the background. And don’t be afraid of back lighting! It can produce some spectacular results.
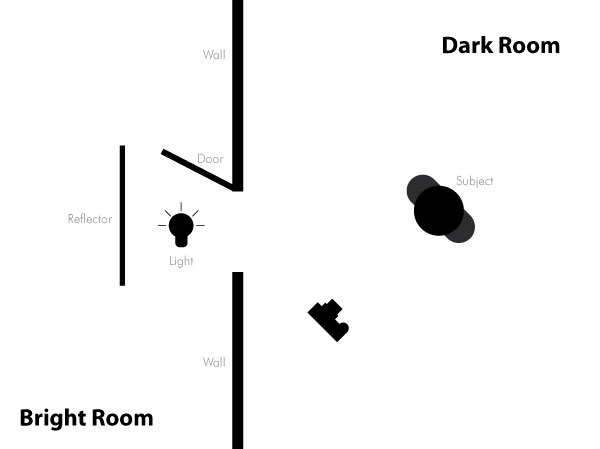
If you don’t have a studio, you still have several choices. A popular one is to use two separate rooms. Block off all light in one room so that if the door is closed, you could see nothing. Use the adjoining room as the light source. You can use the door to help control the incoming light. Try to keep the light from hitting the camera or the background.
If you are unable to muster adjoining rooms, we still have choices. Indoors and out. Daylight and night. Why, I’ve been known to create low-key images with the levels sliders in Photoshop. (no hate mail, please).
But this isn’t about Photoshopping, so let’s look at ways of setting the camera up to achieve our results. With an off camera flash, we can create a low-key image any time of day. It works in the midday sun if you are indoors and works nicely outdoors on a dull, overcast day.
On a tripod, in manual mode:
Set your ISO as low as your camera allows.
Set your shutter speed to the fastest it will go with the triggers you are using. This will reduce a lot of the sun light.
Set up your shot.
Start with the aperture wide open (low number). Take a test shot and progressively narrow it until there is no ambient light in the frame. The histogram should be flat lined at the bottom.
From there, you have to experiment. Set up your flash and shoot. If there is too much light in the scene, you could lower your flash output or move the light further away. If the background is contaminated, you could change the direction of light or move your subject further from the background. Whatever you think of is fine so long as you achieve your intended outcome.
If you are not blessed with a flash, you can still take outdoor, low-key shots. You just have to wait until night. Then head out into the darkness and find your light source. It could be a streetlamp, moonlight, car headlights, or a flashlight that you brought along.
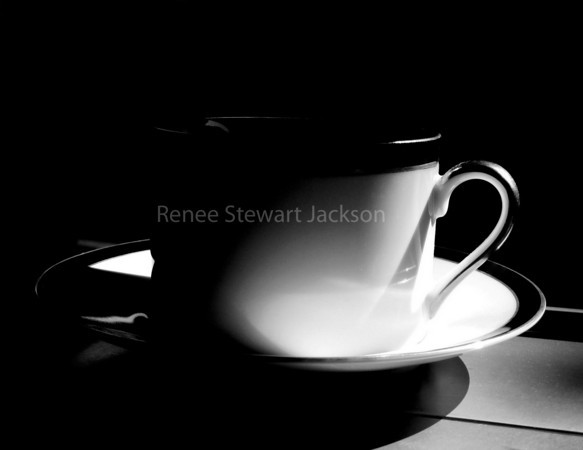
Tea Cup by Renee Stewart Jackson
Experiment – Ultimately a low-key image is just one that contains predominantly dark tones. There are many ways to achieve that. Feel free to use one of the most useful (and under-used) features on the camera – exposure compensation.
In closing I’ll add that although we are trying to capture darkness, it is the application and control of the light that makes a great low-key image. The lack of light puts all focus on what light is allowed to stay. All your lighting decisions will show in your image so although it can be fun and whimsical, really good low-key photography requires a good knowledge of light, shadow and tone. Precise application of lighting is required in order to control the very important shadow detail.
Manipulate your lighting and placement of subject until the shadows fall exactly as you want them. It’s that easy. And difficult.
See you on the dark side.
See also: Food Photography Techniques