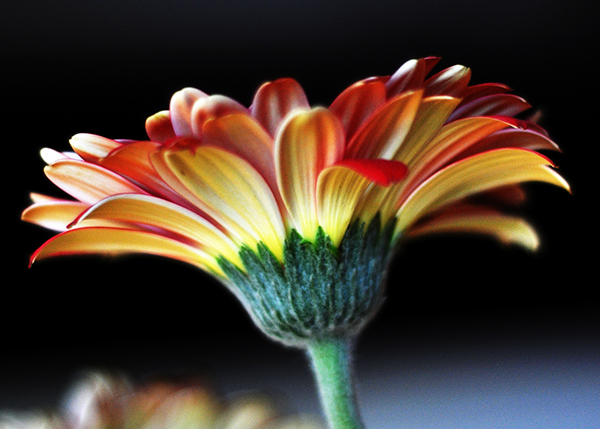
Today I want to give some advice how to photograph flowers and plants.
I know what you’re thinking. “Flowers? Really? Didn’t he just write about shooting football?” As a matter of fact, I did. I shoot lots of different things– a statement which frustrates the hell out of business mentors and advisers who like to talk about branding, creating your niche, and attracting the right kind of client.
And they’re right. After all, clients want to know that you do precisely what they need you to do seven days a week and twice on Sunday. Makes sense. But I was a lawyer for fourteen years. Photography was my hobby for a long time before I ever even thought of trading in my briefcase for a camera bag ten years ago. So, yes. We’re going to talk about photographing flowers– in many ways the ideal subject.
Flowers are pretty, but they don’t require a hair and makeup team on set. They are neither moody nor volatile, and never cop an attitude. They don’t require a specific brand of expensive water secretly bottled straight from a hidden stream in Madagascar, and they are never late for a shoot. Never.
But seriously. I love shooting flowers. My wife is actually convinced that I buy them for myself and not her anymore. She’s (mostly) wrong, but I do take advantage of them while I can. As with so much of what we do in photography, there are at least two ways of going about this– ridiculously expensive or affordable. Guess which way we’re going.
IT’S NOT AS EASY AT IT LOOKS
“How can it not be as easy as it looks?” you’re asking. They just stand there perfectly still. Get them near the light, push the button, we’re done, right? Not so fast. I was at a seminar one time where Joe McNally said, “If you want to take more interesting pictures, you need to stand in front of more interesting stuff.” While I would never (EVER) presume to improve upon his wisdom, my own personal addendum to this guideline is, “But if you’re not going to stand in front of more interesting stuff, at least pick a more interesting angle.”
Six of us can stand around in a circle over the same flower, shoot straight down at it, and end up with six almost identical photos. Boring, right? Of course it is. If you are going to stand an average distance from something, shooting it at an average angle with average camera settings, you are going to get average photos. Personally, I’d rather not settle for average. So get down low. Shoot across it. Shoot under it.
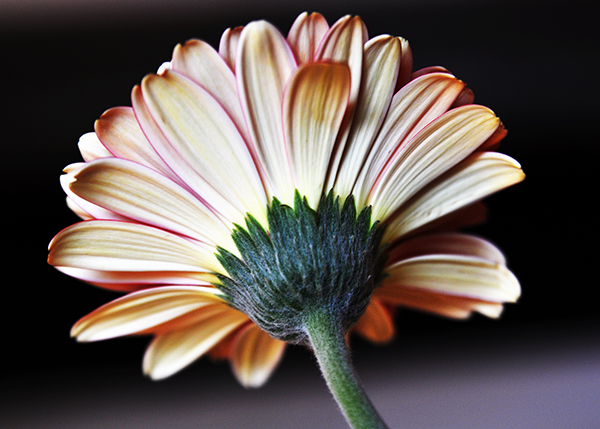
I actually really like photographing flowers from behind. It’s not a mortal sin if you take that straight-down-the-middle shot. No long arm of a photography god is going to descend from the heavens and snatch your camera away. But promise me that once you take that straight-down-the-middle shot and get it out of your system, you’ll get down on your knees, or into a chair, or on your back, or anywhere else you need to be in order to achieve that interesting angle.
THE GEAR
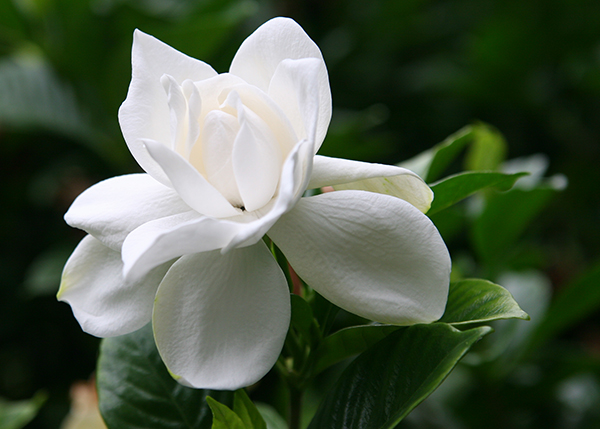
You’ll see some macro photographers really go all out on these images. While a really good macro lens or a tripod with an inverted center column can help create some truly stunning images, they aren’t always necessary. Regular zooms can serve you just as well. Every photo in this article was taken hand-held with one of three lenses: Nikon 24-70mm f/2.8, Nikon 18-70mm f/3.5-4.5 (GASP! A kit lens!), or my iPhone.
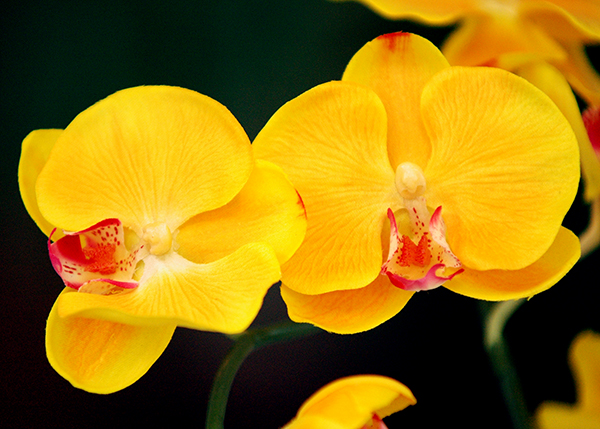
Never underestimate the value of a tripod for this kind of work. I don’t often use one because I tend to have pretty steady hands, but having a tripod on hand is never a bad thing. Nature tends to provide some pretty great backgrounds, but isolating a single flower on a black or white background can often make for some very compelling images. A yard or two of black velvet from a fabric store or a poster-size piece of white foam core from an office supply store are simple, effective, and very budget-friendly options for getting that high-contrast look, indoors or out.
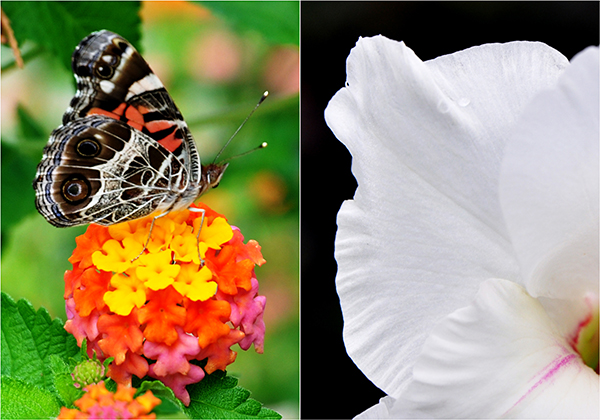
You could waste a lot of time creating these backgrounds in Photoshop, by why would you when the in-camera solution is so much easier? The last piece of gear you’ll find useful is very high-tech. A spray bottle with water will let you fake that just-rained-on look. Just make sure it’s set to a fine mist, rather than a full spray.
START SHOOTING
As with any photo, finding the right angle only gets you halfway there. Don’t forget everything you know about composition. The usual considerations– Rule of Thirds, negative space, balance, etc.– all still come into play. One of the advantages of a regular zoom lens over a macro is that by filling the frame with your flower subject, it becomes that much easier to blur out your background.
Start by focusing on one particular flower or a small cluster of flowers in the arrangement. As you lock focus you will see the depth-of-field effect in your viewfinder. Make sure that you don’t overdo it on the DOF. Depending on your composition and camera settings, you could easily blur out your foreground.
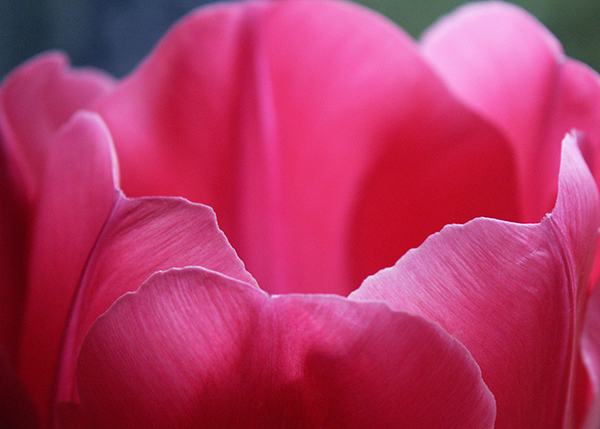
Start with your widest aperture. but make sure you try several different combinations of aperture and shutter speed. Your model is not going to get bored and give you a hard time. Take advantage of this chance to achieve the look you want. Remember that sometimes the whole is not always as interesting as its individual parts. Focus in on details and textures. Make it interesting.
HOW AND WHEN TO LIGHT IT — INDOORS AND OUT
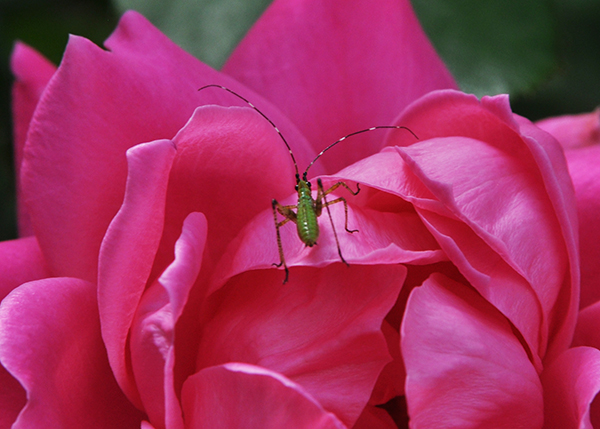
Ultimately, diffused natural light is always at the top of my wish list. Direct sunlight is going to blow out the subtleties and textures you’re trying so hard to capture. As with all indoor lighting, time is less of an obstacle than when you shoot outside.
Outdoor light doesn’t care if you are photographing flowers, portraits, or a football game. Light is light and its properties don’t change. Just like we get the best portrait and landscape light right after the sun comes up and just before it goes down, the same goes for flowers. We really want that soft, beautiful light to enhance these images, not overpower them. For that, nothing beats an overcast or cloudy day– Mother Nature’s very own soft box. For inside, use the biggest window you can find.
The side-lighting it provides will add more dimension than flat lighting from above the flower. Whatever you do, experiment with your light. Pay attention to where it falls and the shadows it creates. You can also be sure that patience and time spent here will dramatically benefit your portrait work as well.
TAMING THE WIND
As much as I try to never take my camera out of Manual mode, an argument can be made that exposure modes are there for a reason. This would be one of those. When shooting outside, even the slightest breeze can give you fits. Try switching you camera into shutter priority mode and dial in a shutter speed of 1/250 or faster. The fast shutter speed should negate the effects of the breeze. I’m not a huge fan of exposure modes and relinquishing control of my settings (one reason why we’re not talking about your camera’s macro setting in this article), but this is a simple and effective way to remove one of the obstacles in your path.
POST PROCESSING
My philosophy on editing these images is the same as my approach to portraits. A slight levels adjustment and contrast bump should really be all they need. Anything much stronger than that is going to come dangerously close to wiping out the texture and any of the natural feel to the overall image.
Now go buy some flowers and let me know how it goes.
A Post By: Jeff Guyer
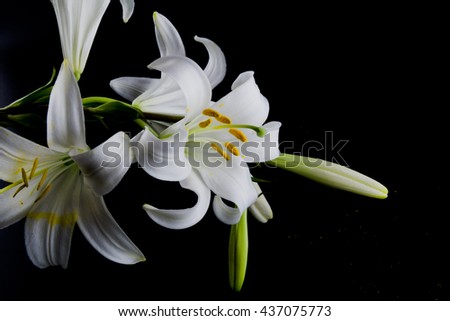
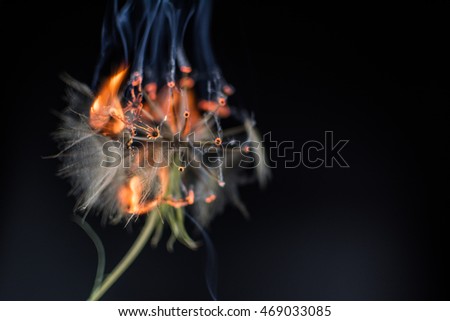
I love shooting flowers on a black background and burning plants on black background. These pictures are very often used for modular paintings.
See also: How to increase the natural light
