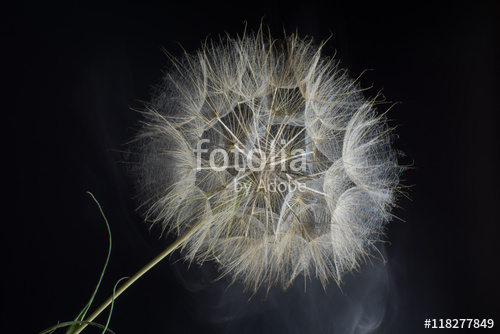
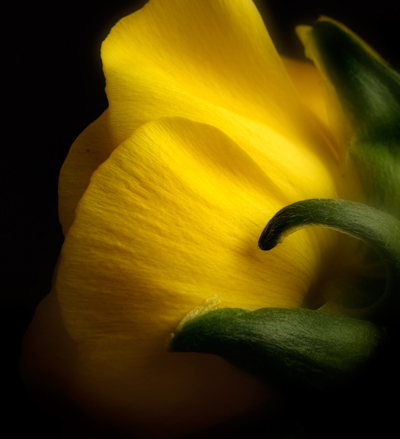
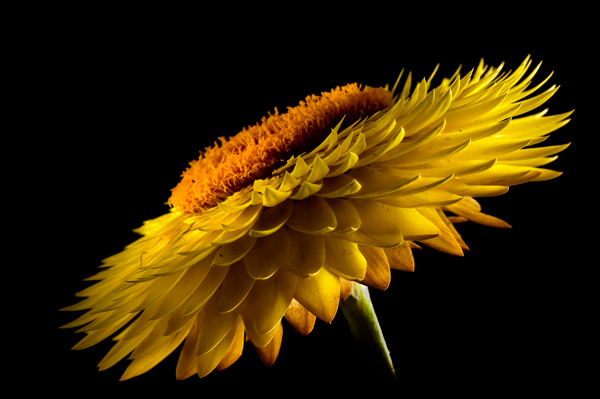
Black background with a single source of light without flash.
Many beginning photographers are asked: how to photograph an object on a black background without a black background and a single light source? And what to do if there is no external flash?
In this post I’ll share the secret of how to make a black background black background without using a single light source. The light source may be a LED flashlight with zoom.
A dark background can draw the viewer’s attention into an image, and create a dramatic effect that is unique and compelling. Subtleties of lighting in the foreground or mid-ground, for example, become more noticeable and have great impact on the “feeling” of the image.
The easiest, quickest way to create a black background for your image is to make it happen in-camera and not in post-production work (such as in Photoshop).

Setup
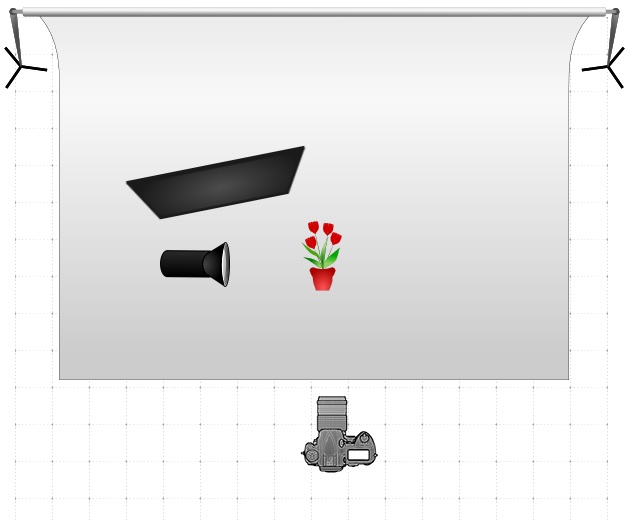
Shoot in a dimly lit room. Use a light source that falls only on the subject. The speedlight (flash) you use in your camera’s hotshoe will work fine for this, but you will want to take it off-camera to create this effect. A remote trigger is best.
And if you don’t have a speedlight, don’t fear. You can even use a flashlight.
The first method you could use involves use of a black piece of material in the background of the shot. Place the background at least 4-6 feet behind the subject. Keep the light that is on your subject from illuminating the background, so it stays dark in the image.
I prefer a different method. It is called “working above the ambient” by David Hobby of Strobist fame (www.strobist.com). This method is rather easy to create indoors. It can be done outdoors, but in this case, we are going to focus on an indoor shot.
We want to eliminate the influence of ambient light in the picture. The only light you will be working with will be from the flash. Your camera’s exposure will be set so as not to pick up any ambient light, and then you will bring the power of the flash to the right setting to get a proper exposure on the subject. Sounds challenging? Experiment and it will quickly become second nature.
Image Creation
- Use a room or space that has low light
- Set your ISO to 100 or 200; at least the lowest “native” setting offered in your camera
- Set camera to manual exposure
- Set shutter speed to highest available flash sync, usually 1/125, 1/200, or 1/250
- Take a test shot without flash. Set aperture small; anywhere from f/11 to f/22. You want the result to be a completely black frame.
- Evaluate the histogram. Increase aperture size (from f/22 to f/18 for example) by steps until you start to see ambient light in the frame, and back off to the previous setting.

Next, you’ll start working on lighting the subject. We’ll discuss using flash first:
- With your flash off-camera, set it to a power that is sufficient to properly expose your subject. You might start with the flash about two feet from the subject and to its side (for example, let’s say the subject is something small, like a single flower bloom). Try setting the power to 1/128 or whatever the lowest power setting is on your flash. Take the shot and check the LCD and histogram. If the shot is over exposed, then lower the power of the flash or move it farther away from the subject
- If under exposed, then up the power of the flash or move the flash either closer away until the proper exposure is achieved.
- Do not adjust the camera exposure settings or you will start recording the ambient light again. Camera exposure settings are set to remove the ambient light from the picture, not to set the exposure of the subject.
- Put another way: set the exposure for the subject by adjusting the power setting on the flash or by changing the distance between the flash and subject. In essence, you are going to adjust the amount of light on the subject until it properly exposes the subject at the exposure settings you have already set into your camera.

Enhancements
- If you find that you are still getting some light on the background, then use something to block the light from hitting the background. Such items are called a “gobo” which will “cut” the light. You can even use a small piece of cardboard. Set the cardboard up close to the flash head, placing it between the flash head and the background. The light will hit the cardboard and be blocked from hitting the background.
- Using a black background in your shots will provide a unique look to your photographs. Using a black background makes the foreground colors of the subject really pop. And it guides the viewer’s eye to go straight to the main subject and not drift out of the borders.
- With practice, you’ll find that this is a very simple process which you can execute very quickly in most indoor situations. Not only is it a lot of fun, you can end up with some great pictures.
Written by guest author, Ron Brewer
See also: How to increase the natural light
